Blog
How to Upload SVG Files in Cricut Design Space
May
Have you ever found the perfect design for your Cricut project, but wondered how to upload it to Cricut Design Space? Don’t worry, we’ve got you covered! Follow the simple steps in “How to Upload SVG Files in Cricut Design Space” to upload files and start your crafting journey::
Understanding SVG Files: What They Are and Where to Find Them
What is SVG?
SVG stands for Scalable Vector Graphics, and it is the preferred file format for working with Cricut Design Space and other design/cutting software. There are many technical reasons why SVG is the best file type for the job, but simply put, it’s the easiest way for your machine (and YOU!) to work with (the fewest steps!).
Where to get free SVG
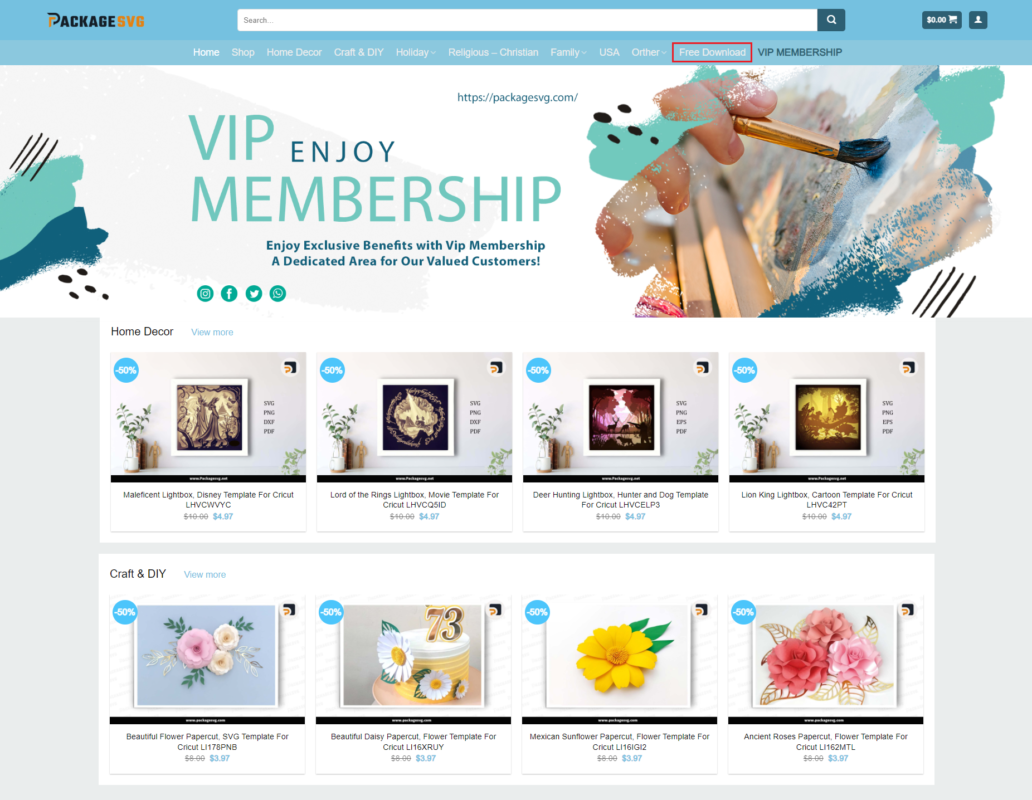
If you’re new to this, I recommend downloading free SVG design files to use initially. Many bloggers and designers offer free cut files, or you can find many beautiful designs in our “Free download” section.
Note: If you haven’t downloaded Cricut Design Space on your computer or phone, you can do so here for your computer or search for Cricut Design Space in your phone’s app store.

Using SVG in Cricut Design Space:
Note: There are two different ways in which you can upload a file to the Cricut Design Space software – via the computer desktop software or the tablet or phone app. Since the screens differ between the desktop and app versions of the software, we will be providing screenshots from both versions, and you can choose to follow the tutorial that is suitable for your platform.
On a Computer:
Note: For this tutorial we are using our free Mermaid SVG Bundle, Mermaid Quotes Design Free Download, available here.
Step 1: Download your SVG file to a location you’ll remember and can easily access on your computer.
Step 2: Open Cricut Design Space and sign in. If you don’t have a Cricut ID, you can create one at this step.
Step 3: Next, click on “New Project” at the top right of the screen (the green button) or at the bottom left of your screen.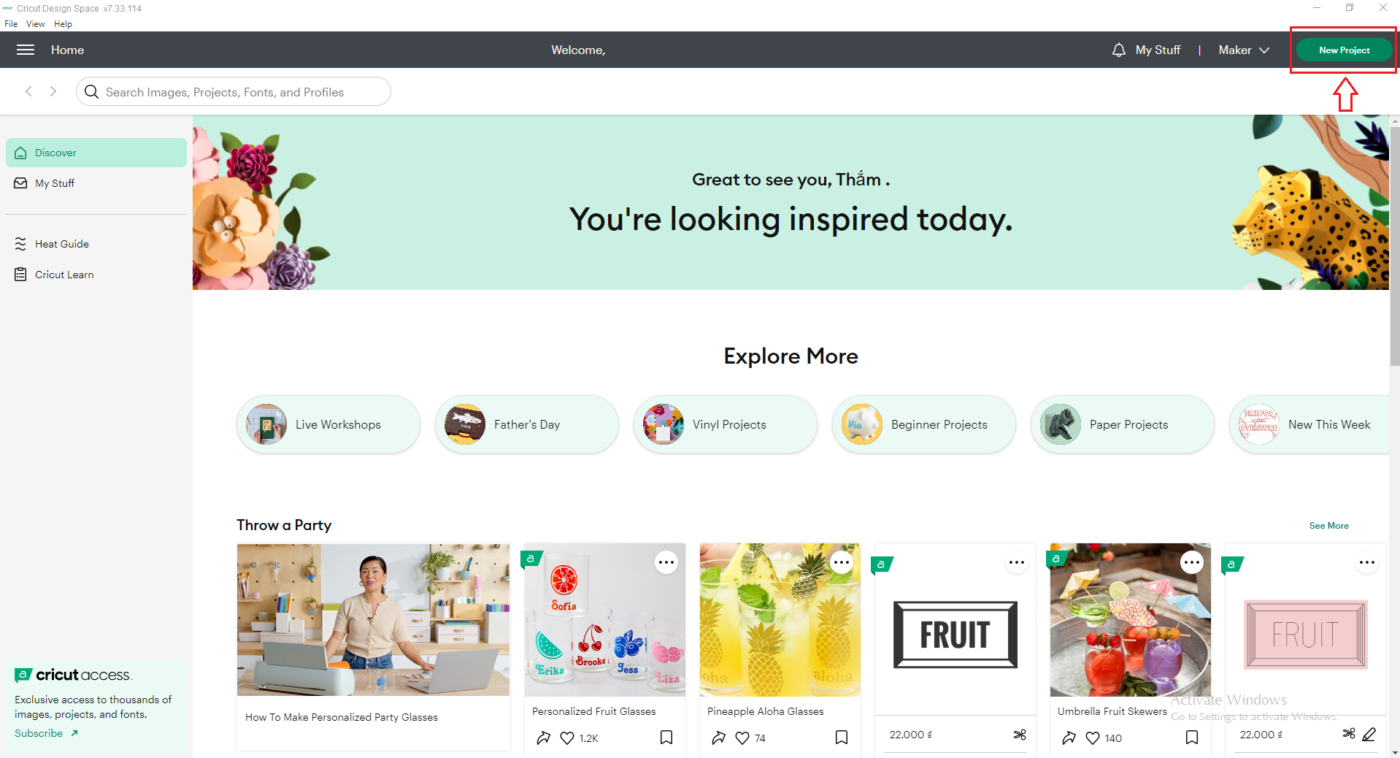
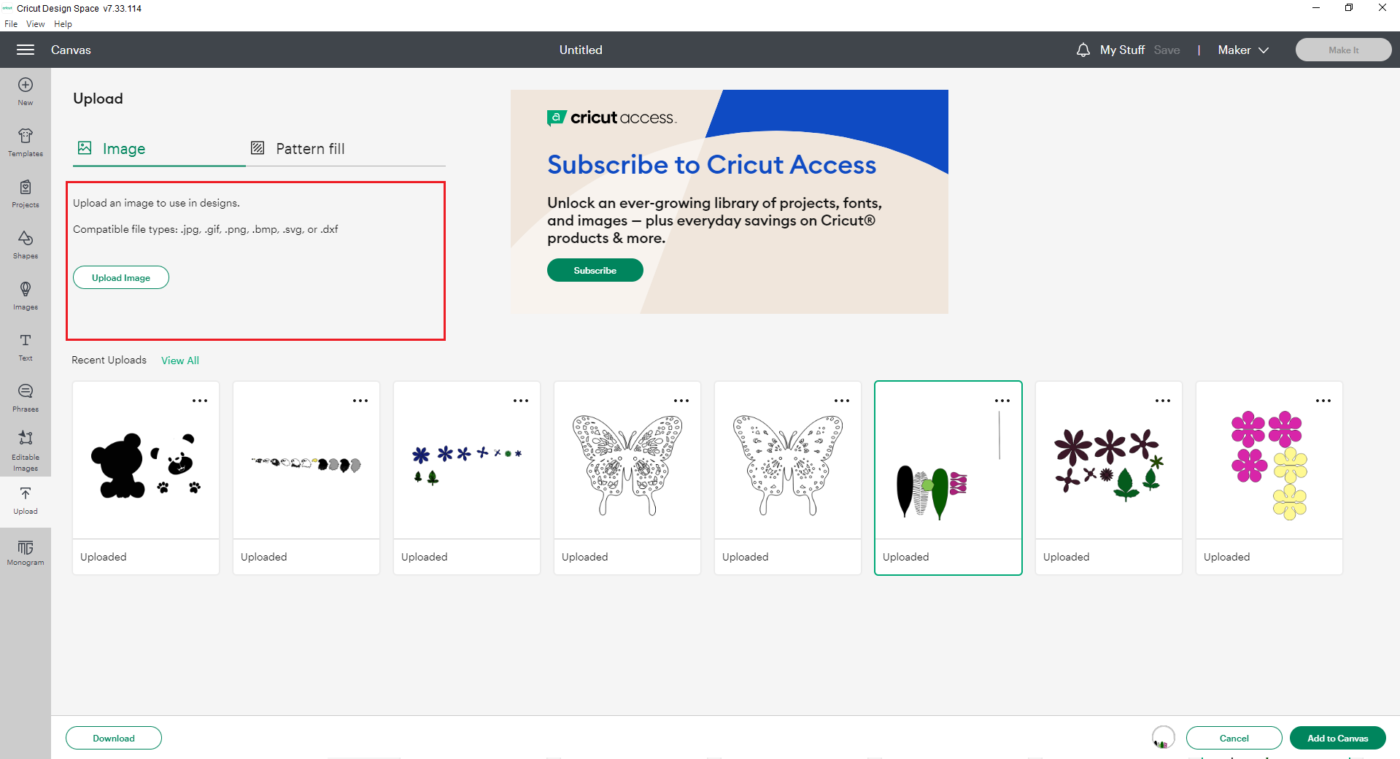
Step 4: Then, a blank canvas screen will open, and click on the “Upload” button on the left toolbar.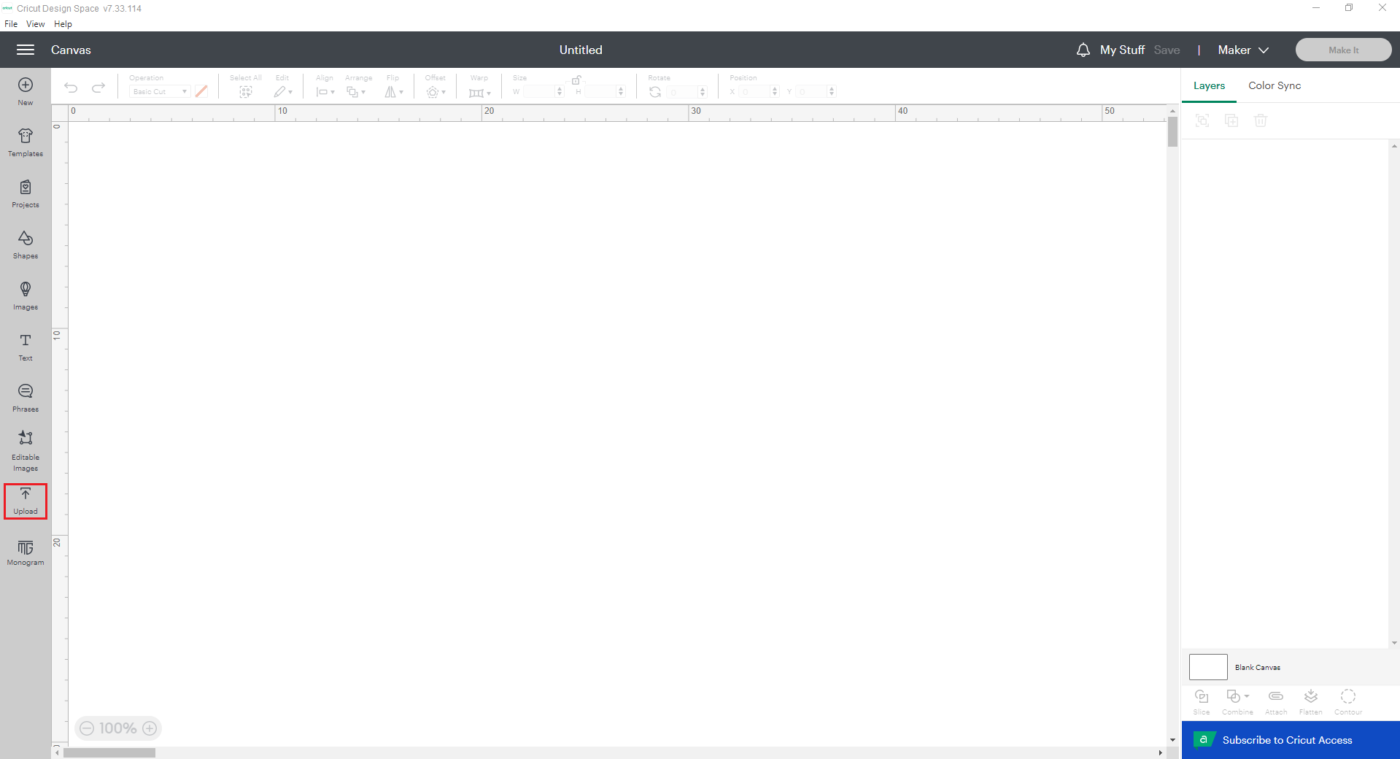
Step 5: The next screen will allow you to choose to upload an image or a pattern. We’ll select the left side and upload an image (image is defined as various file types, including .svg files!).
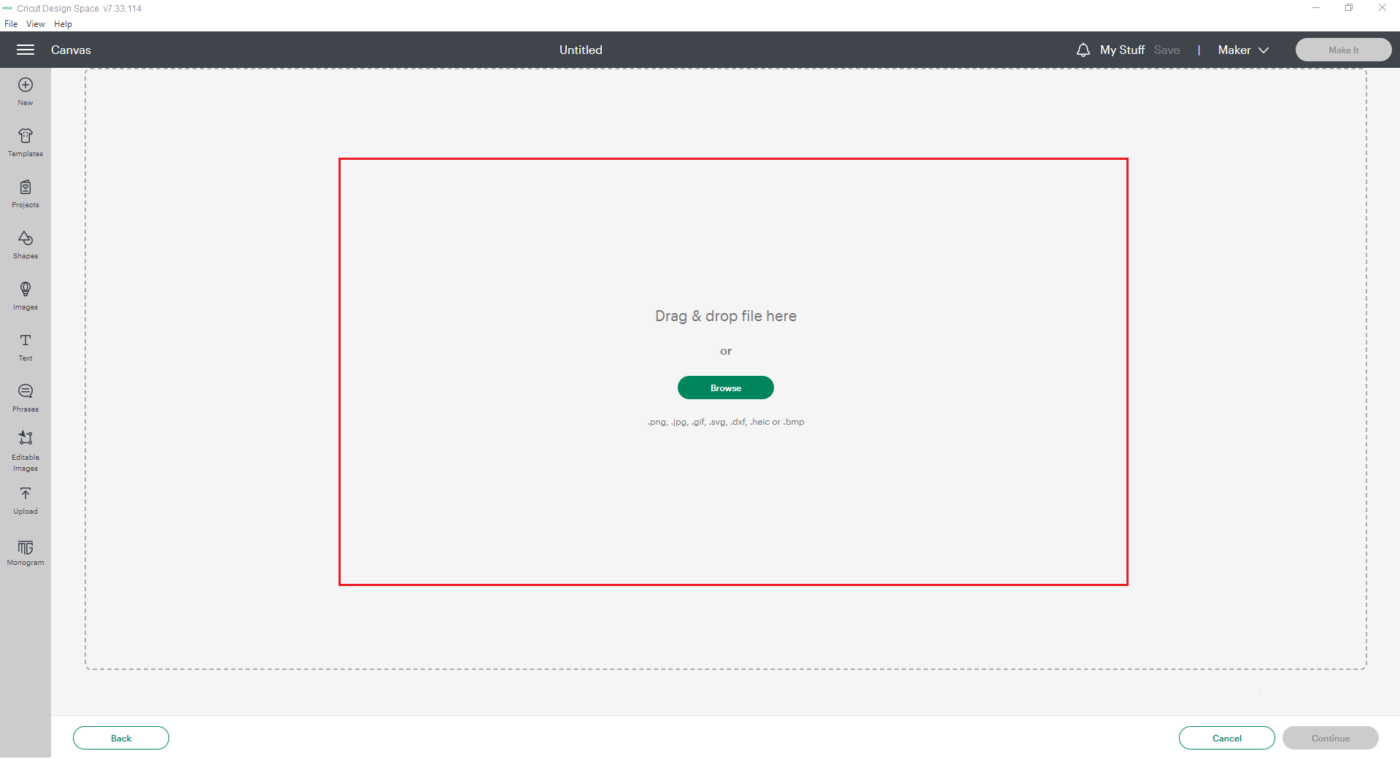
Step 6: Choose “Browse” to locate the folder where you saved your SVG file in step 1.
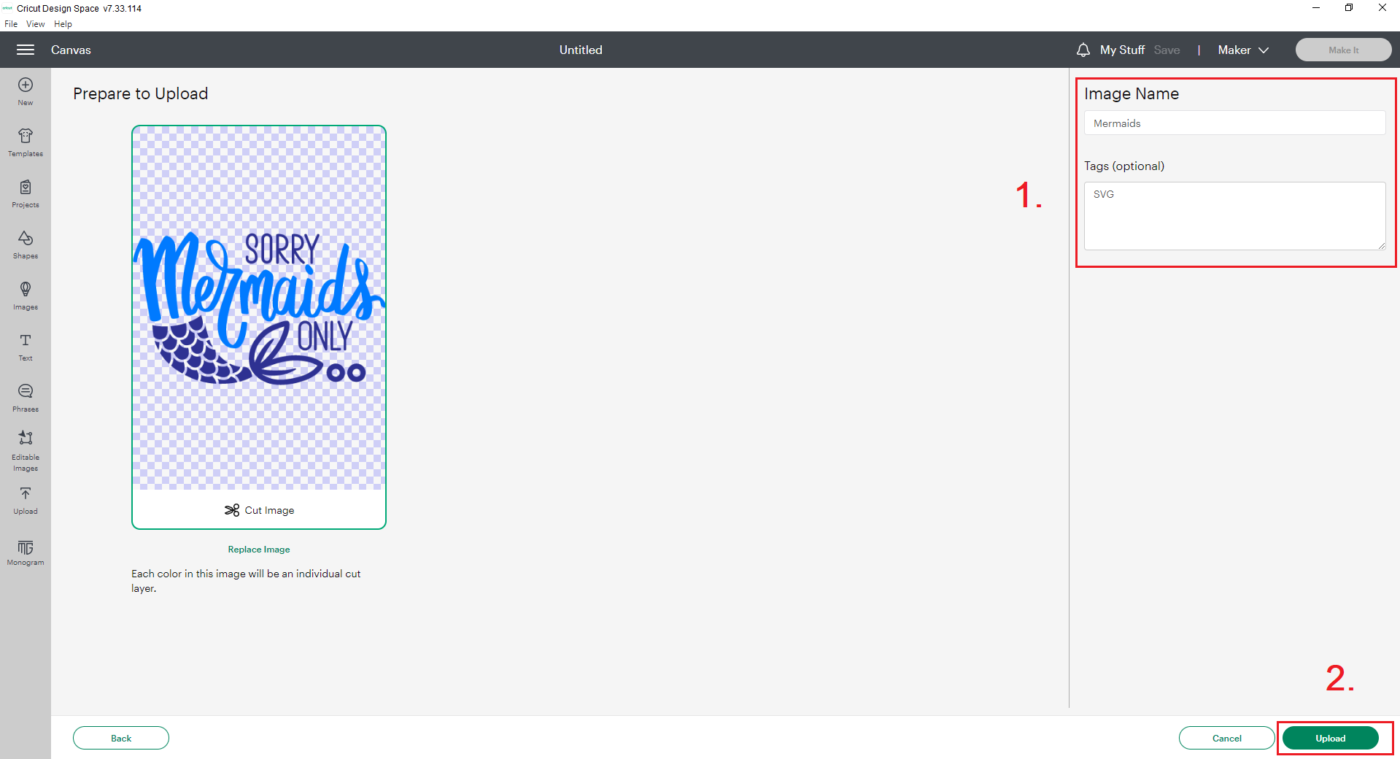
Step 7: Once you select the saved SVG, you’ll get a screen like the one below. You’ll want to edit the Title if needed and add any tags you want. (Noted with 1.) This helps organize your projects and files later as you build your library. Then select “Save” (Noted with 2.)
Step 8: Now, you’ll see that your new SVG design is in the first position in the “Recently uploaded images“. Select that image and then click on “Insert Image” at the bottom right.
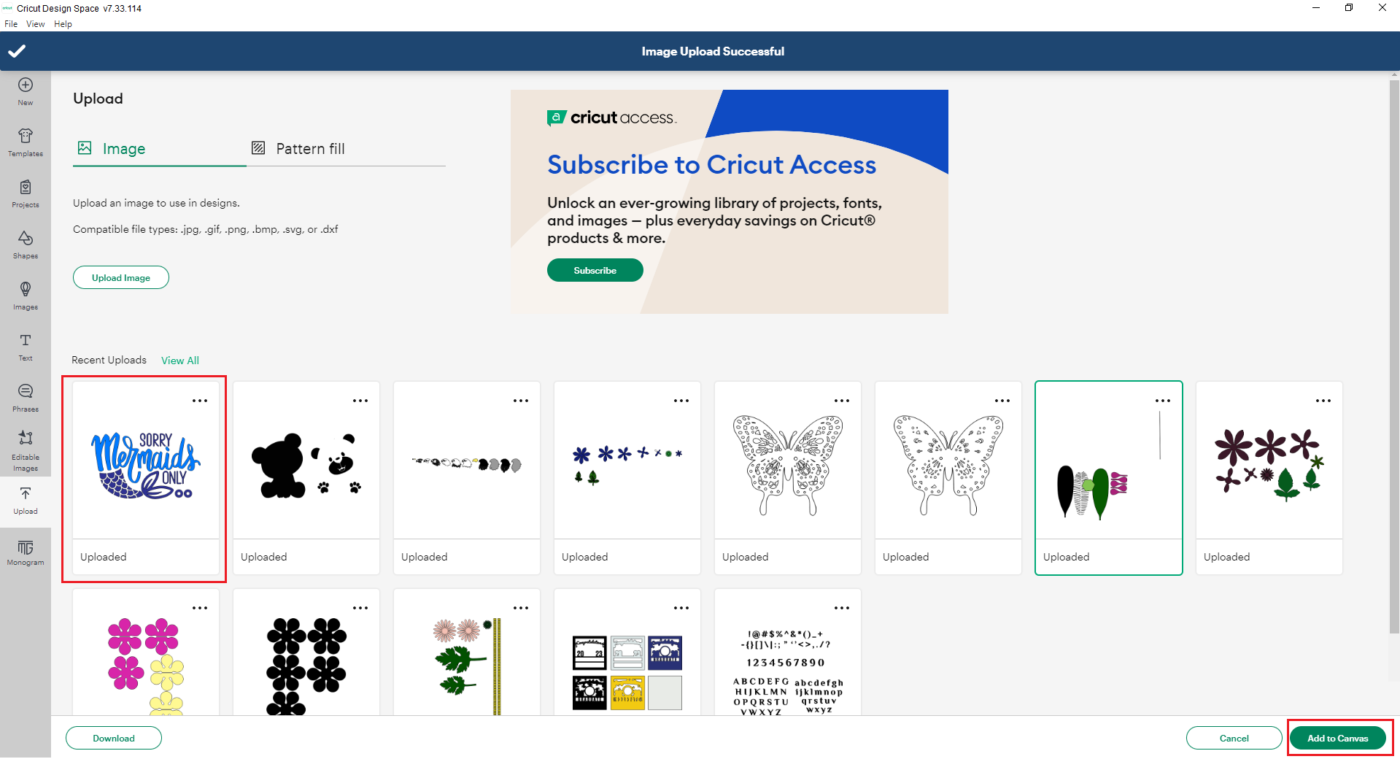
Step 9: This action will place your SVG onto the blank canvas in Cricut Design Space.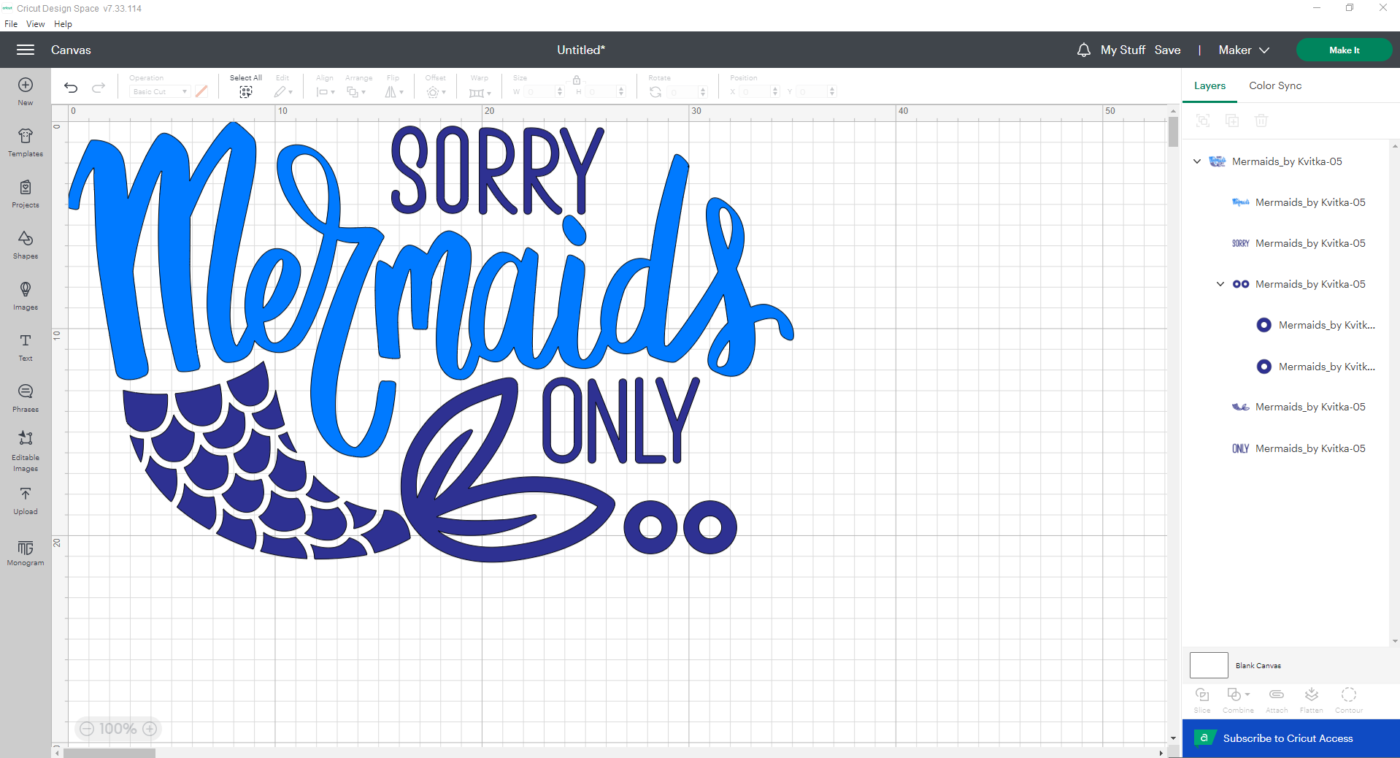
The instructions above provide a straightforward guide on how to upload SVG files in Cricut Design Space, making it easier for you to unleash your creativity.
For Android and IOS Devices
Note: For this tutorial we are using our free Christian SVG Bundle, 15 T-Shirt Designs Free Download, available here.
Step 1: Open the Cricut Design Space app on your phone and sign in to your account. If you don’t have the app yet, you can download it from the App Store or Google Play.
Step 2: Once you’re logged in, tap on the “+” button to create a new project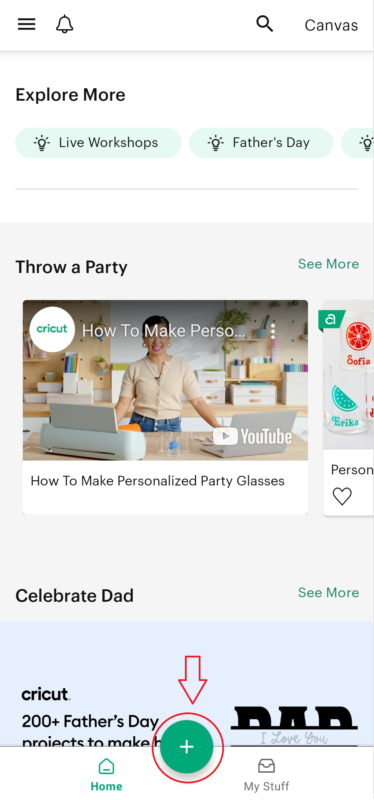
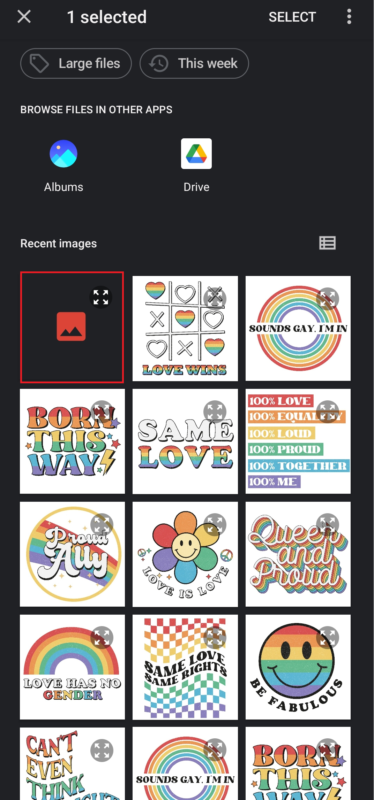
Step 3: On the project screen, tap on the “Upload” icon located at the bottom of the screen. This will open the upload page.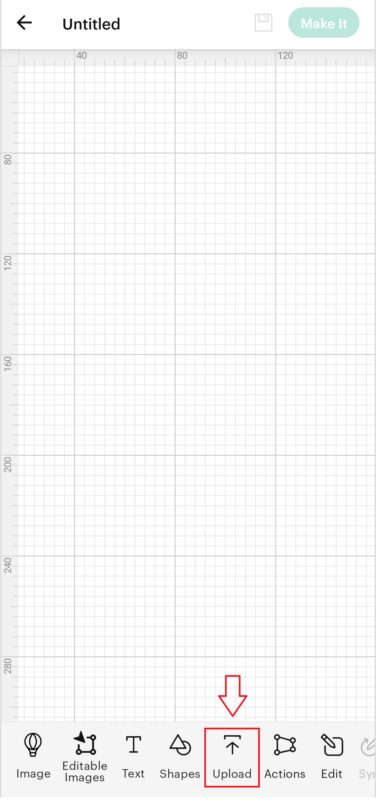 Step 4: Choose the source of your file. You can either select a file from your phone’s gallery or take a photo using the camera option.
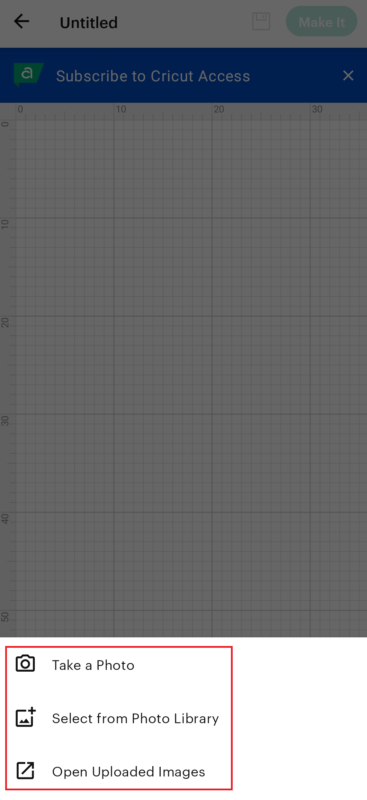
Step 5: Browse through your files and select the design you want to upload. You can upload various file types, such as SVG, PNG, and JPG.
Step 6: After selecting the file, you’ll be taken to the upload preview screen. Here, you can make adjustments to your design, such as cropping or removing any unwanted elements.
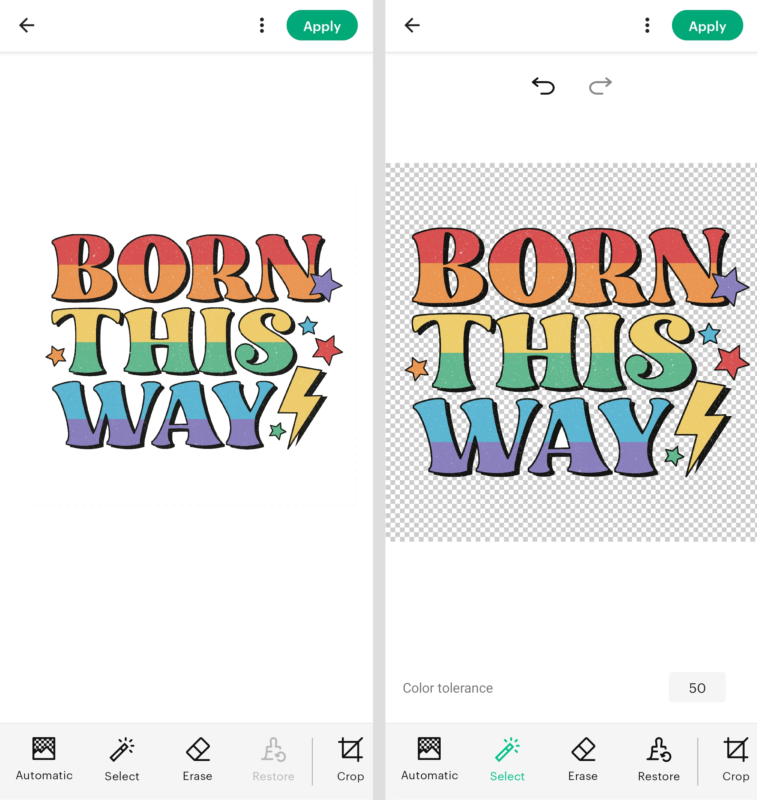
Step 7: Once you’re satisfied with the preview, tap on the “Apply” button to complete the upload process. Congratulations! Your file is now uploaded to Cricut Design Space. You can find it in the “Open uploaded images” section when creating your project.
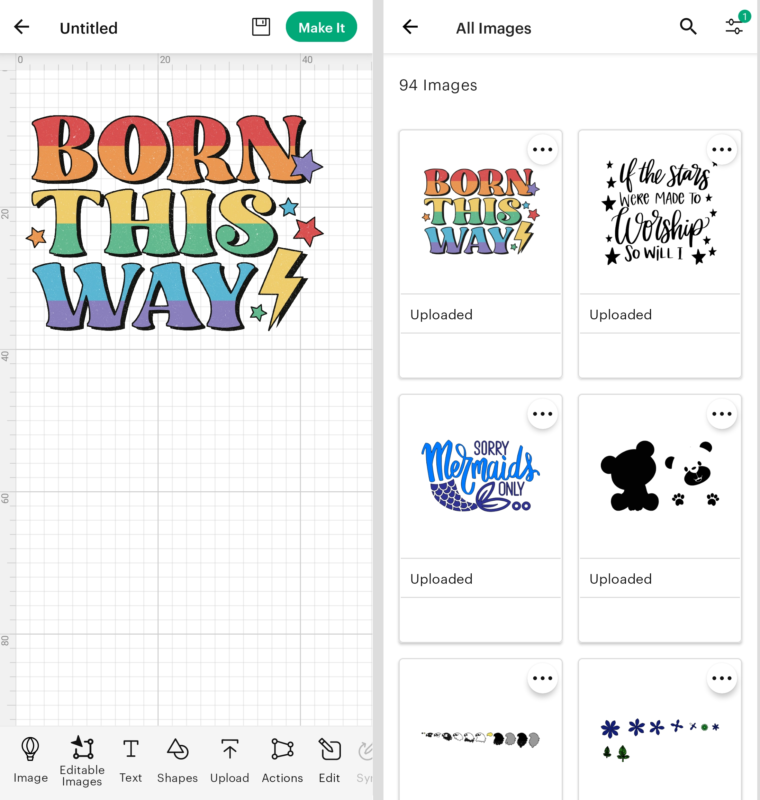
Remember to explore the different features and tools in Cricut Design Space to personalize and customize your design further.
With these simple steps, you can easily upload files to Cricut Design Space using your phone and let your creative ideas flow. Get ready to craft amazing projects and bring your imagination to life!
Note: This guide is based on the official Cricut Design Space app and its features. For more detailed instructions, you can refer to the official Cricut support website or consult the Cricut user manual.


HOW TO GET DOWNLOAD LINK?