Christmas Tree Light Box, Blog
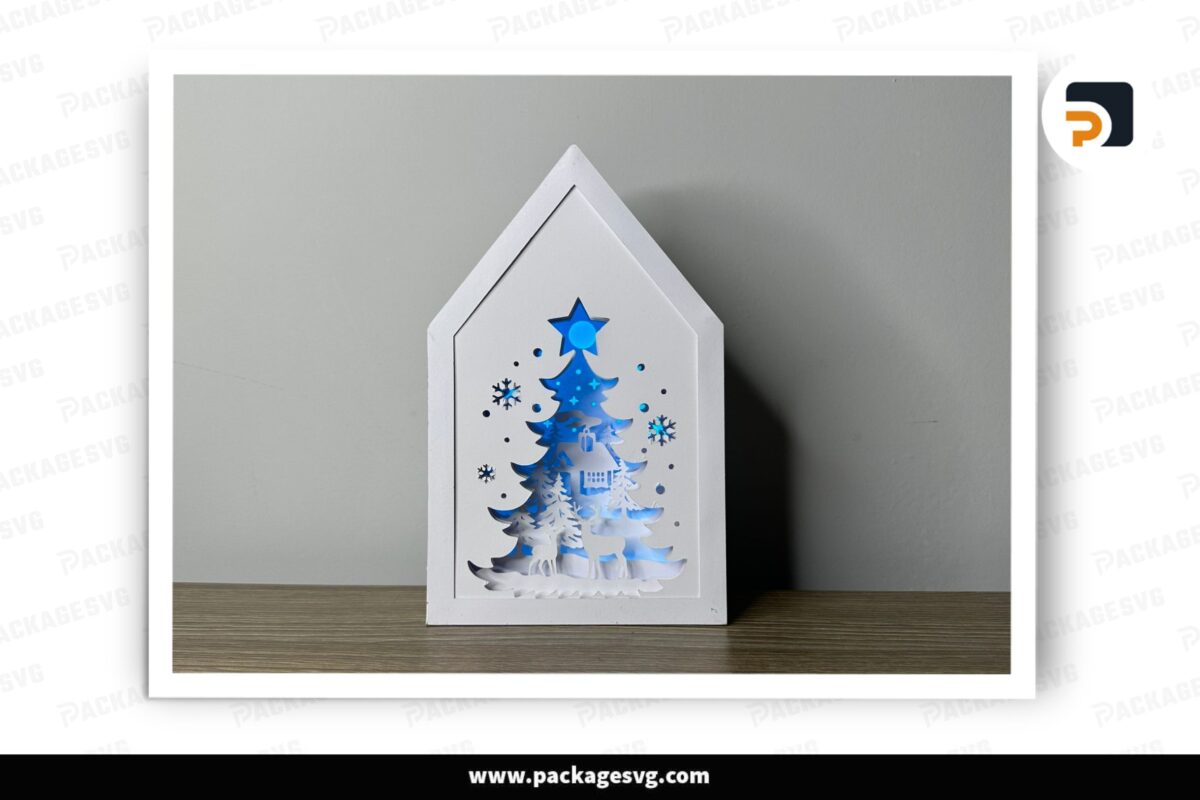
Grow A Magical Christmas Tree Light Box With Christmas Deer Lantern House SVG Cut Files
Aug
Prepare to infuse the festive spirit of Christmas into your holiday decorations with our attractive design: Grow A Magical Christmas Tree Light Box With Christmas Deer Lantern House SVG Cut Files . In this article, we’ll dive into the captivating world of Christmas tree SVGs, the appeal of the design, the simplicity of owning SVG cut files, and creative ideas related to the Christmas SVG Light box.
Join us in embracing the Christmas magic with these enchanting designs, guaranteed to add joy and wonder to your festive celebrations.
More information on “Grow A Magical Christmas Tree Light Box With Christmas Deer Lantern House SVG Cut Files”
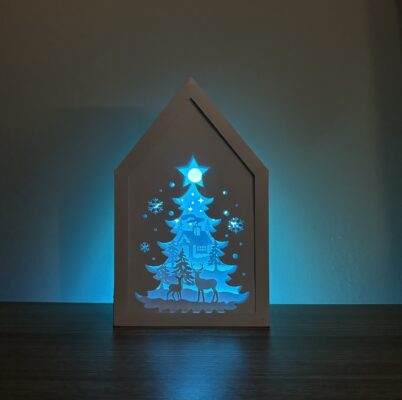
Drawing inspiration from the wooden dwelling, the comforting winter smoke intertwined amidst the pine woods, and the unrestrained deer leisurely wandering beneath the forest canopy, I conceived this design.
The 3D Christmas Deer Lantern House goes beyond simple crafting: Crafted akin to the allure of a lightbox, it boasts 8 layers, each thoughtfully encapsulated within a house-like structure. This arrangement evokes a sense of coziness while enhancing visual allure through its tiered composition, resulting in a captivating three-dimensional spectacle. Therefore, it definitely embodies true artwork that infuses a sense of enchanting wonder and curiosity into any space.
With endless ideas, you can create a personalized masterpiece. You can combine different colored papers with LED lights installed on the back, depending on your preference. Even if you use white paper, it creates a beautiful light effect.
These products are used to decorate homes, bedrooms, living rooms, offices, etc. They are also suitable as gifts for loved ones on the holidays.
Essential Materials & Tools
- Art knife
- Cricut Cutting Machine or Any cutter
- Cricut Scoring Wheel Tip or Scoring Stylus (Optional)
- Paper/ cardstock 160 gsm – 200 gsm
- Tracing paper
- Led Strip or Fairy light
- Glue
- Hot Glue Gun
- Shadow box frame, depth at least 6-8cm (2.5-3 inches) – Available in design
A note about the lights we used – The lights are waterproof and controlled by a remote control that actually works pretty well. You can choose the light color since they have different settings for different color lights. They also take batteries so that you can use them again. However, because of the cheap price, they would be a bust, so be careful!
Easy Steps for Christmas Tree Light Box
STEP 1
Get the templates from the link below ^^

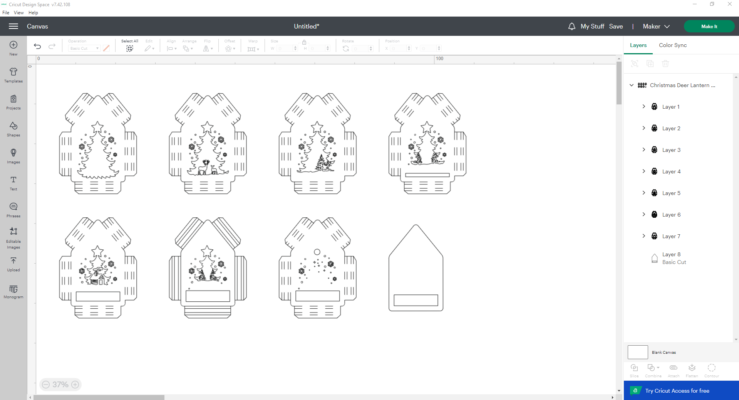
If you are using a Cricut, upload the this Christmas Tree Light Box and import them into a new project. Remember to set up the cutting line correctly for your purpose and be sure to click “Attach” in the bottom right corner to keep the pieces in the right place.
Click “Make it” and correctly align your paper cut on the cutting mat layout before clicking “Continue”.
Read more: How to Upload SVG Files in Cricut Design Space.
STEP 2
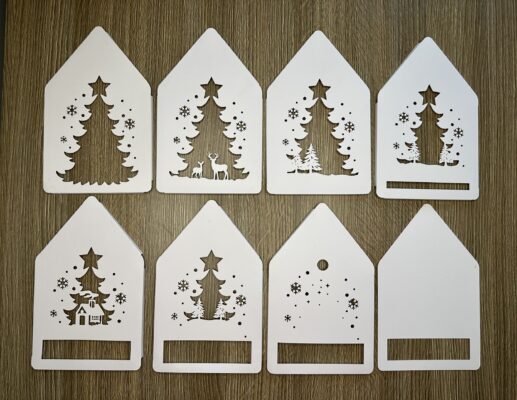
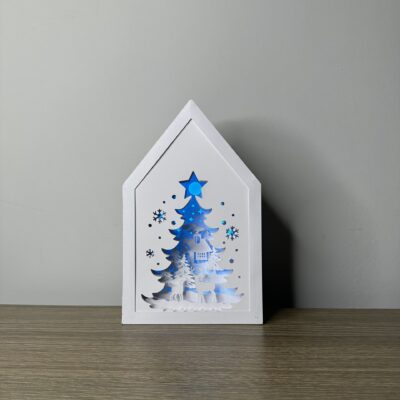
Once the cut is complete, fold the edges back, and you will have layers, as shown. Then, stack the layers on one another.


Tape a sheet of tracing paper to the back of the cardstock so that the light radiates more evenly and beautifully!
STEP 3
Use hot glue to fix the LED strip or Fairy Light to the back of the lightbox. How many you need depends on how big your frame is. For our smallest frame, we only use one; for our largest, we use four.
Final Thoughts
This is an incredibly easy project that can be undone. What do I mean? You can claim back the lightbox when the project is finished and put it away again for next year.
From downloading the print file, cutting it out, and assembling the shadow boxes, you only spend less than 20 minutes. These look great during the day but really stand out in the dark. I suggest an area of your home that doesn’t get much light at night, like a dark hallway or a room without windows!
Looking For More Fun Christmas Projects?
- 3D Christmas Snowman House Lanterns, SVG File For Cricut LLVMZQVD
- 3D Christmas Truck House Lanterns, SVG File For Cricut LLVZKCI2
- Christmas Nativity Tree Lantern, SVG Papercut Light Box LLD3KU99
- Christmas Ornament Shadow Box, SVG Paper Cut File LLAK4EM0
- Merry Christmas Globe Light Box, SVG Paper Cut File LLAKM5Z4
- Nativity Scene House Lantern, Christmas SVG Template Light Box LKVYNBHL


HOW TO GET DOWNLOAD LINK?